


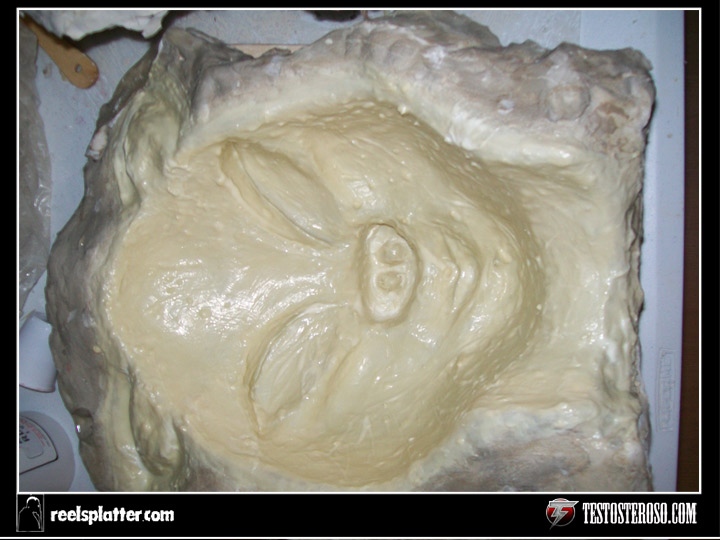
This process was done twice because we had to make a mold for each side of the mask. The mold had to sit for around two days. After the mold was finished drying, we pulled the head form and clay from the mold. Upon doing so, we snapped the head from inside the mold (Because of the weight of the clay, and the fact it was Styrofoam). We dug out the broken pieces, and we were ready to fill it with latex.


The two sides of the mask were then sealed together with latex, along with the inner seam of the mask as well.Then we trimmed the excess latex. Once that dried, we trimmed the excess latex and the outer seam was covered with cabosil. We let that dry overnight, and then we were ready to start painting!!!


The base coat was done by airbrush, and the small details were done by hand.


There you have it folks!!! The making of Sex Pig. Hope my recollection could help. If you want to get a better understanding of this process, or want to check out some of Reel Splatters other work, be sure to check out Http://www.reelsplatter.com
No comments:
Post a Comment