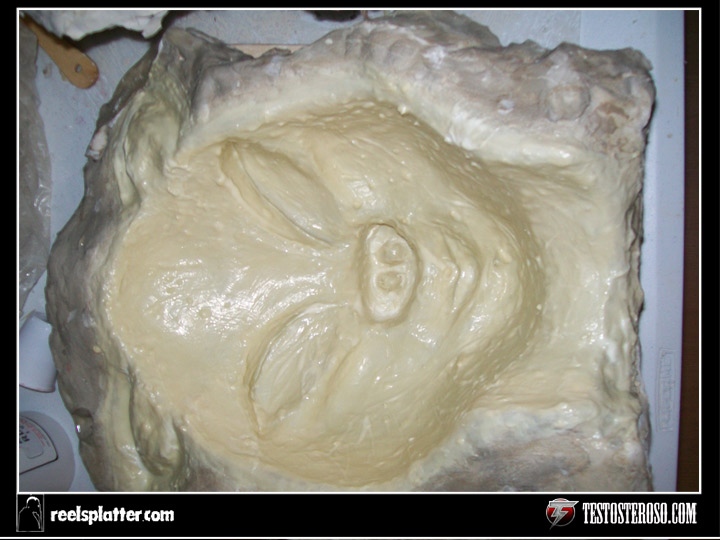
For those of you familiar with our character Sex Pig, you’ll be glad to see the old paper Mache mask has been updated dramatically with the help of our friends from
Reel Splatter Productions (
Http://www.reelsplatter.com).
Before I start with this tutorial (or half-assed tutorial) I would like to say, I am not a professional. However, Mike Lombardo from Reel Splatter has been doing this for quite some time now, so I’m going to recall everything I learned from him during this process, and if I forgot anything, I’m sorry.
I took the original paper Mache mask (Which looks like total shit) and some concept art over to Mikes, along with a Styrofoam head form (which we found out much later is not ideal for mask making,). First, we covered the head form with newspaper in order to save on clay. After wrapping it with newspaper and tape, we were ready to start sculpting.
 |
| Concept art |
 |
| Original paper Mache Sex Pig Mask |
 |
| Styrofoam Head Armature |
We built up the head with plasticine clay, and gradually started adding details. We were fortunate to have Sarah Handfest, and Erik Oblivion help us during the sculpting process.
 |
| Sarah Handfest lends a hand. |
After adding the major details, we had to smooth out any imperfections. This requires the use of a metal comb, and some lighter fluid. The trick is to add a crosshatch pattern over the sculpture, and then use a brush with lighter fluid to smooth out the lumpy spots of the sculpture. The lighter fluid eats away at the clay and smooths out any stray marks.
I slowly learned that plasticine is a pain in the ass to smooth out, but Is reusable, and easy to work with.
It must be heated in order to sculpt and it hardens very quickly. This made the sculpting process take a while
Once the mask looked the way we wanted it, we used a texture stamp to give it the look of human skin. You can pick these up at
http://www.monstermakers.com, along with many other useful supplies for mask making. Be sure to check out our next blog for the rest of the steps on how this was made!!! Or you can go to
www.facebook.com/testosteroso
 |
| The finished sculpture. |
 |
| Skot Shaub,Mike Lombardo |
 |
| Mike Lombardo |